Looking to Upgrade to the GIGABYTE X570 AORUS Master motherboard? This can be fun, exciting and rewarding. However, upgrading a computer motherboard involves several steps, including preparation, removal of the old motherboard, and installation of the new one.
Below is an easy-to-follow, step-by-step guide on upgrading to the GIGABYTE X570 AORUS Master motherboard:
Preparation
- Backup Data: Ensure all important data is backed up from your current system.
- Gather Tools: You’ll need a Phillips head screwdriver, possibly some thermal paste, and an anti-static wrist strap for safety.
- Work Area: Prepare a clean, static-free workspace with good lighting.
Removal of the Old Motherboard
- Power Down and Unplug: Shut down your PC and unplug it from the power source.
- Open the Case: Remove the side panel(s) of your computer case.
- Disconnect Cables: Carefully unplug all cables connected to the motherboard, including power, SATA, USB, and any others.
- Remove Components: Take out the GPU, RAM, and any other PCIe cards. If your CPU cooler is large, you might need to remove it to access the motherboard.
- Unscrew the Motherboard: Locate and unscrew all the screws holding the old motherboard in place.
- Remove the Motherboard: Gently lift the motherboard out of the case. Be careful not to snag any cables or components.
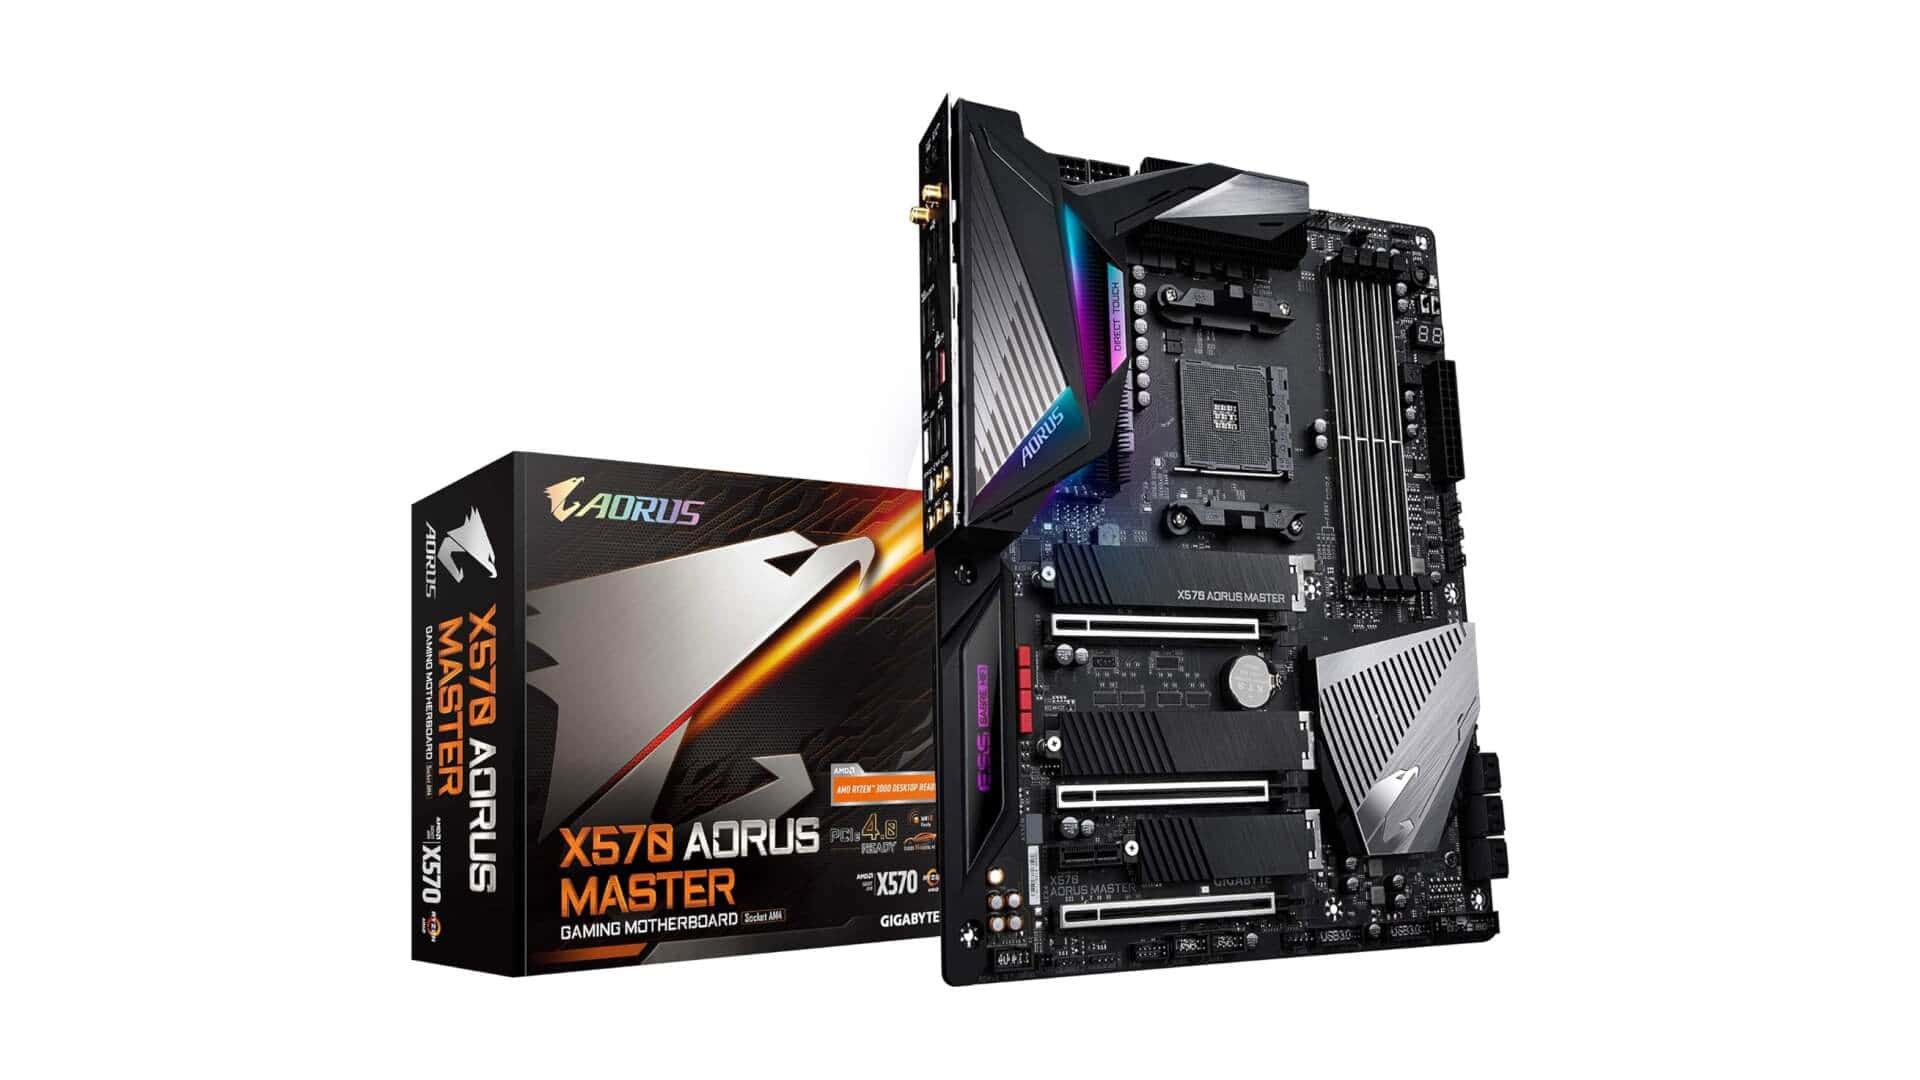
Installation of the GIGABYTE X570 AORUS Master
- Prepare the New Motherboard: Place the GIGABYTE X570 AORUS Master on a clean, flat surface.
- Install the CPU: Place the CPU into the new motherboard’s socket. Align it properly (look for the triangle marker on the CPU and socket). Lower the retention arm to secure the CPU.
- Apply Thermal Paste (if necessary): If your CPU cooler doesn’t have pre-applied thermal paste, apply a pea-sized amount on the CPU.
- Install CPU Cooler: Attach the cooler according to its instructions. Make sure it’s securely fastened.
- Install RAM: Open the RAM slots and insert the memory sticks, ensuring they click into place.
- Prepare the Case: Place the I/O shield that came with the AORUS Master into the case’s back panel.
- Place the Motherboard: Carefully lower the motherboard into the case, aligning it with the I/O shield and standoffs.
- Screw in the Motherboard: Secure the motherboard with screws.
- Reinstall Components: Put back the GPU, PCIe cards, and any other components you removed.
- Connect Power and Data Cables: Reattach all cables, including the 24-pin ATX, 8-pin CPU power, SATA, USB, fans, and front panel connectors.
- Cable Management: Tidy up the cables for better airflow.
- Final Checks: Double-check all connections and components to ensure they are secure and properly connected.
- Power On: Close the case, plug in the power supply, and turn on the computer.
- BIOS Setup: Enter the BIOS to configure settings. You may need to update the BIOS for optimal performance with your CPU.
- Install Drivers: After booting, install necessary drivers, especially chipset, audio, network, and graphics drivers.
- System Check: Run a system check to ensure everything is working correctly. Monitor temperatures and performance to ensure stability.
Post-Installation
- Windows Setup: If needed, reinstall Windows and restore your data.
- Update Software: Ensure all your software is up-to-date.
Learn more about the GIGABYTE X570 AORUS Master motherboard.
Remember, if you’re not confident in your ability to Upgrade to the GIGABYTE X570 motherboard, it’s a good idea to consult with or hire a professional. Also, handle components carefully to avoid damage from static electricity or physical force.